How to create pressed flower bookmarks

How to create pressed flower bookmarks

Pressed flower bookmarks make a beautiful keepsake or gift! Here's a step-by-step guide to making your own by Amy Cooper from Yorkshire Wildlife Trust

This is a lovely craft to try out in spring, summer or autumn. 

From start to finish, creating pressed flower bookmarks can take a few weeks. If you are a teacher planning this activity for an art lesson or club, bear that in mind. 

Before you start, remember: 

  1. Only use flowers from your own garden – do not pick wildflowers 

  2. Press flowers sparingly – make sure to leave plenty of flowers for pollinators 

You will need: 

  • Garden flowers
  • Flower press or some very heavy books 
  • Parchment paper (if using books to press your flowers) 

  • Blank acrylic or paper bookmarks
  • Mod Podge
  • Paintbrush
  • Twine or ribbon 
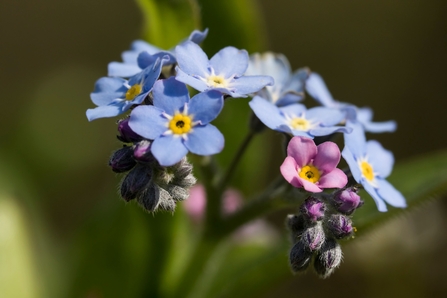
A small cluster of delicate blue forget-me-not flowers, with a pink flwoer in the foreground

Forget-me-not © Chris Lawrence

Step 1: Choose your flowers 

Choose flowers and petals from your garden. Try choosing a variety of colours and shapes! 

Adding leaves and foliage alongside your flowers can also look really effective. 

Pick flowers on a dry day. If the flowers are damp, lay them out to dry on kitchen roll or parchment paper. The pressing process removes moisture, but you don’t want the flowers to be wet when you start.  

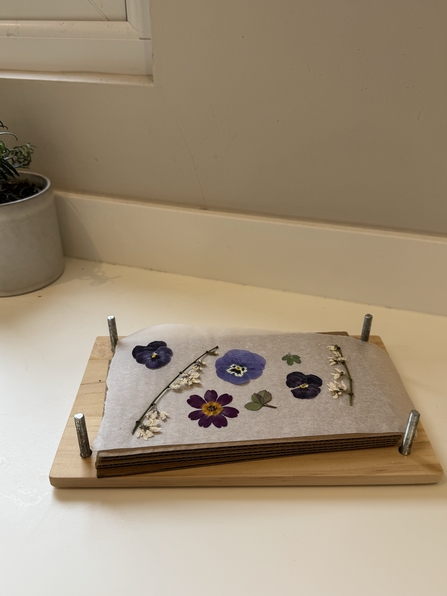
Flowers and stems sitting on brown parchment paper in the middle of a flower press

Flowers in a flower press © Amy Cooper

Step 2: Press your flowers 

A flower press is the easiest method, but very heavy books can work just as well!  

If using the book method, place parchment paper underneath and on top of each flower. Leave the flowers for at least a week before removing the books or flower press.  

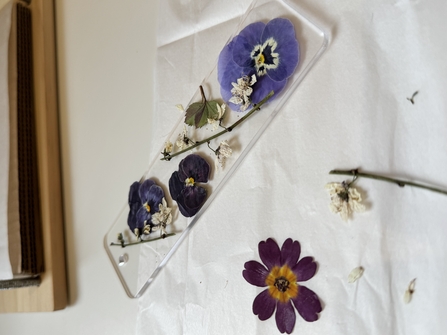
A transparent acrylic bookmark filled with pressed flowers and stems. Next to the bookmark are other dried flowers and stems

Constructing a pressed flower bookmark © Amy Cooper

Step 3: Plan your design 

Gather all your materials and think about what design you might want to create on top of your chosen bookmark base. You could sketch it out, or let your design grow organically as you start, one flower at a time.  

Step 4: Create your bookmark 

Attach one flower at a time by painting a small amount of mod podge to your bookmark, then press the flower down for a minute or two until secure. 

Once you have attached all your flowers and foliage, let the glue on your bookmark dry – this should take around 20 minutes (the perfect amount of time for a tea break and bird-watch!)  

Another layer of mod podge can then be added over the top of your dried flowers to seal your design. Leave to dry again before using to accompany your favourite book or giving as a gift.